How to use Merceo’s chatbot assistant in your shopify store
This walkthrough will focus on how to use the chatbot assistant in your shopify store. We assume that you already have installed the chatbot assistant. If you haven’t, please check this guide to get you started.
Step 1: Create a new page
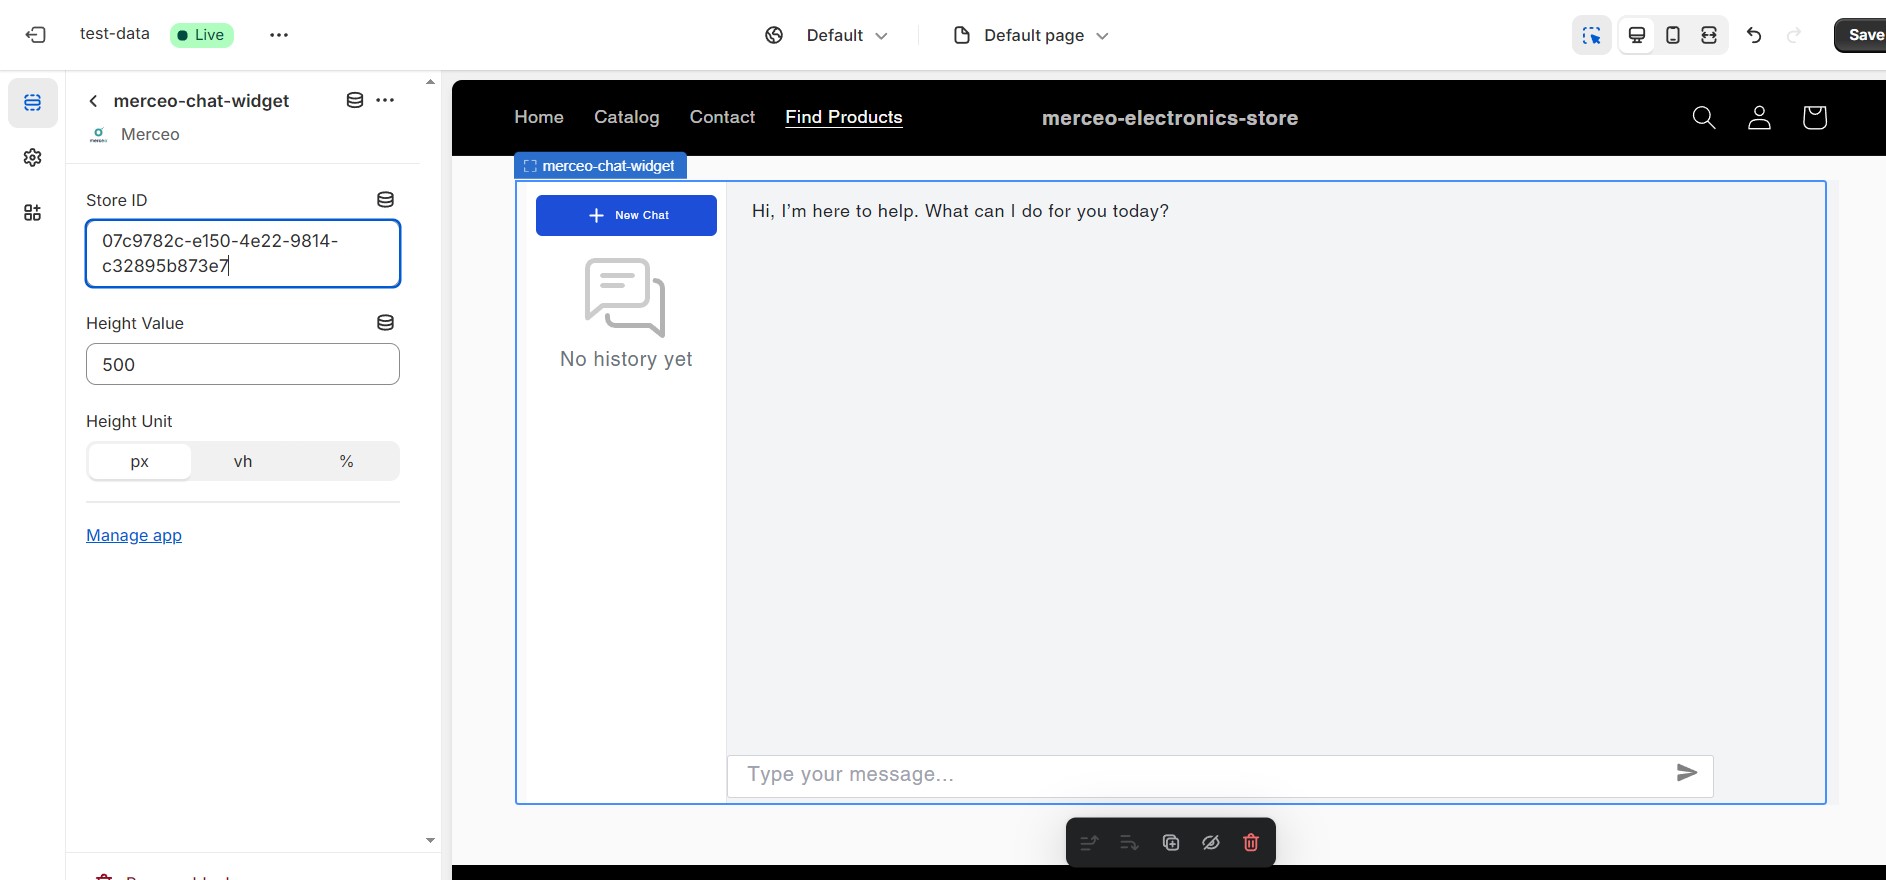
After installing the chatbot, copy your Merceo store id from the shopify data source detail page.

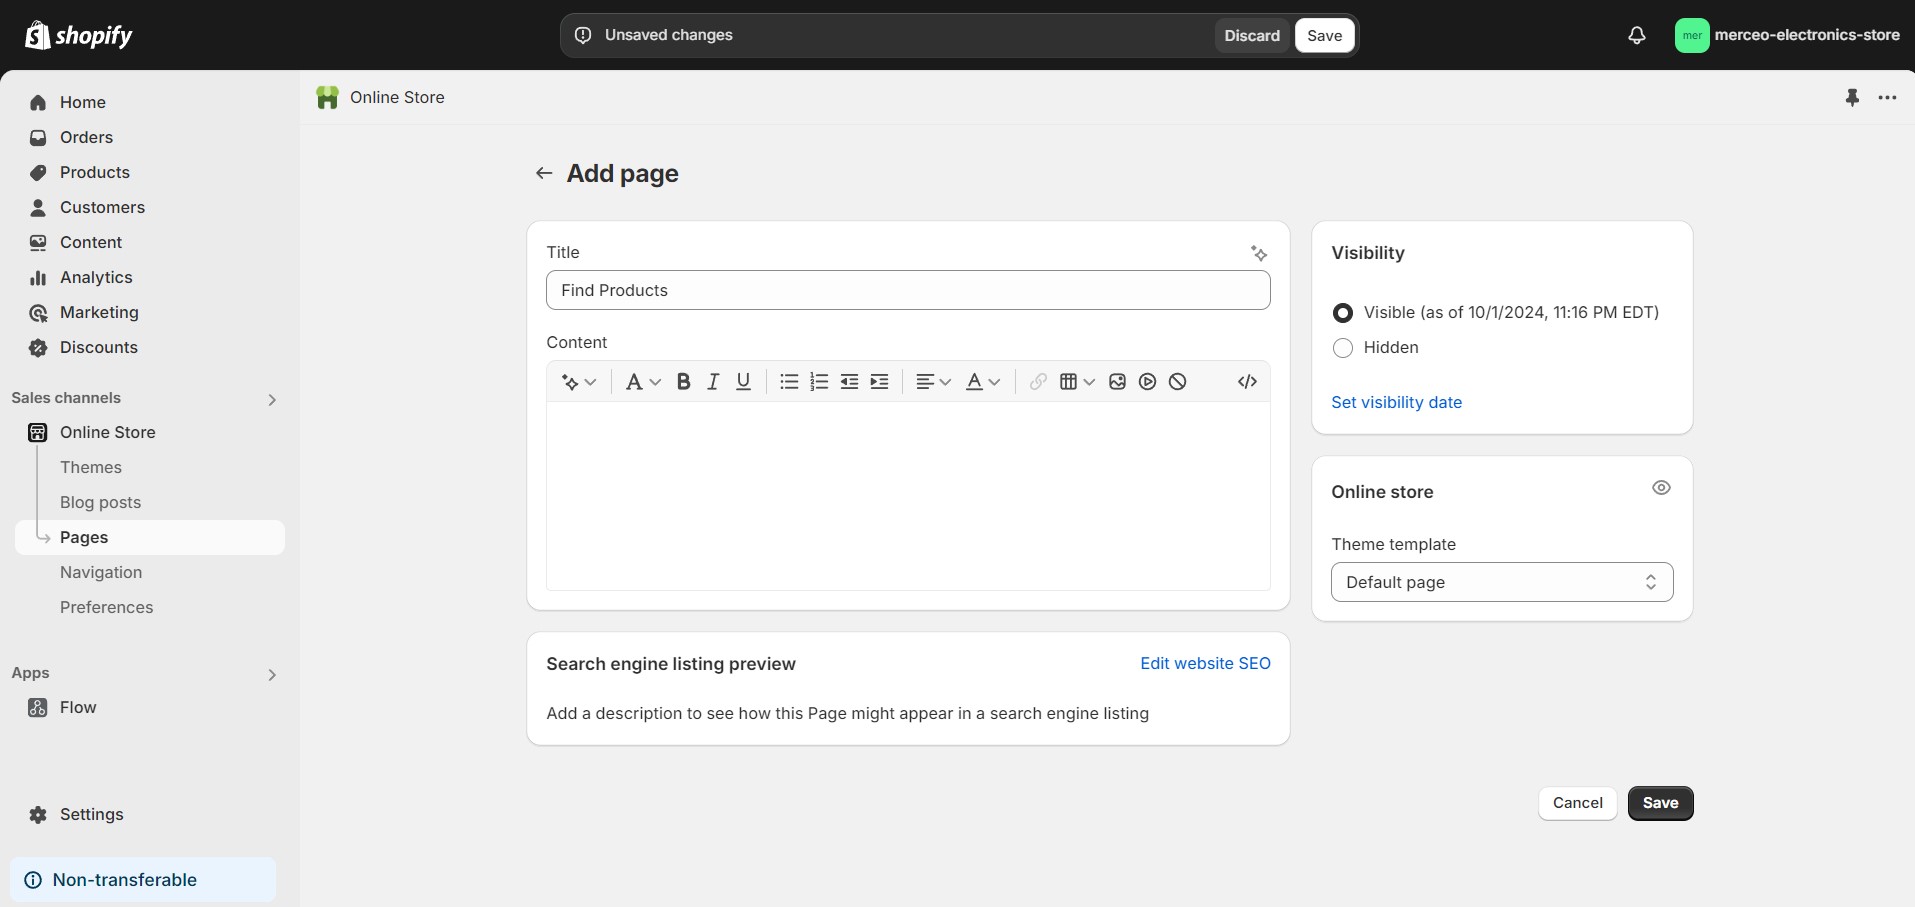
Next, go to your Shopify store dashboard and click on ‘Online Store‘ -> ‘Pages‘, then click ‘Add New‘. Give the page a title (e.g. ‘Find Products’) and click ‘Save’.
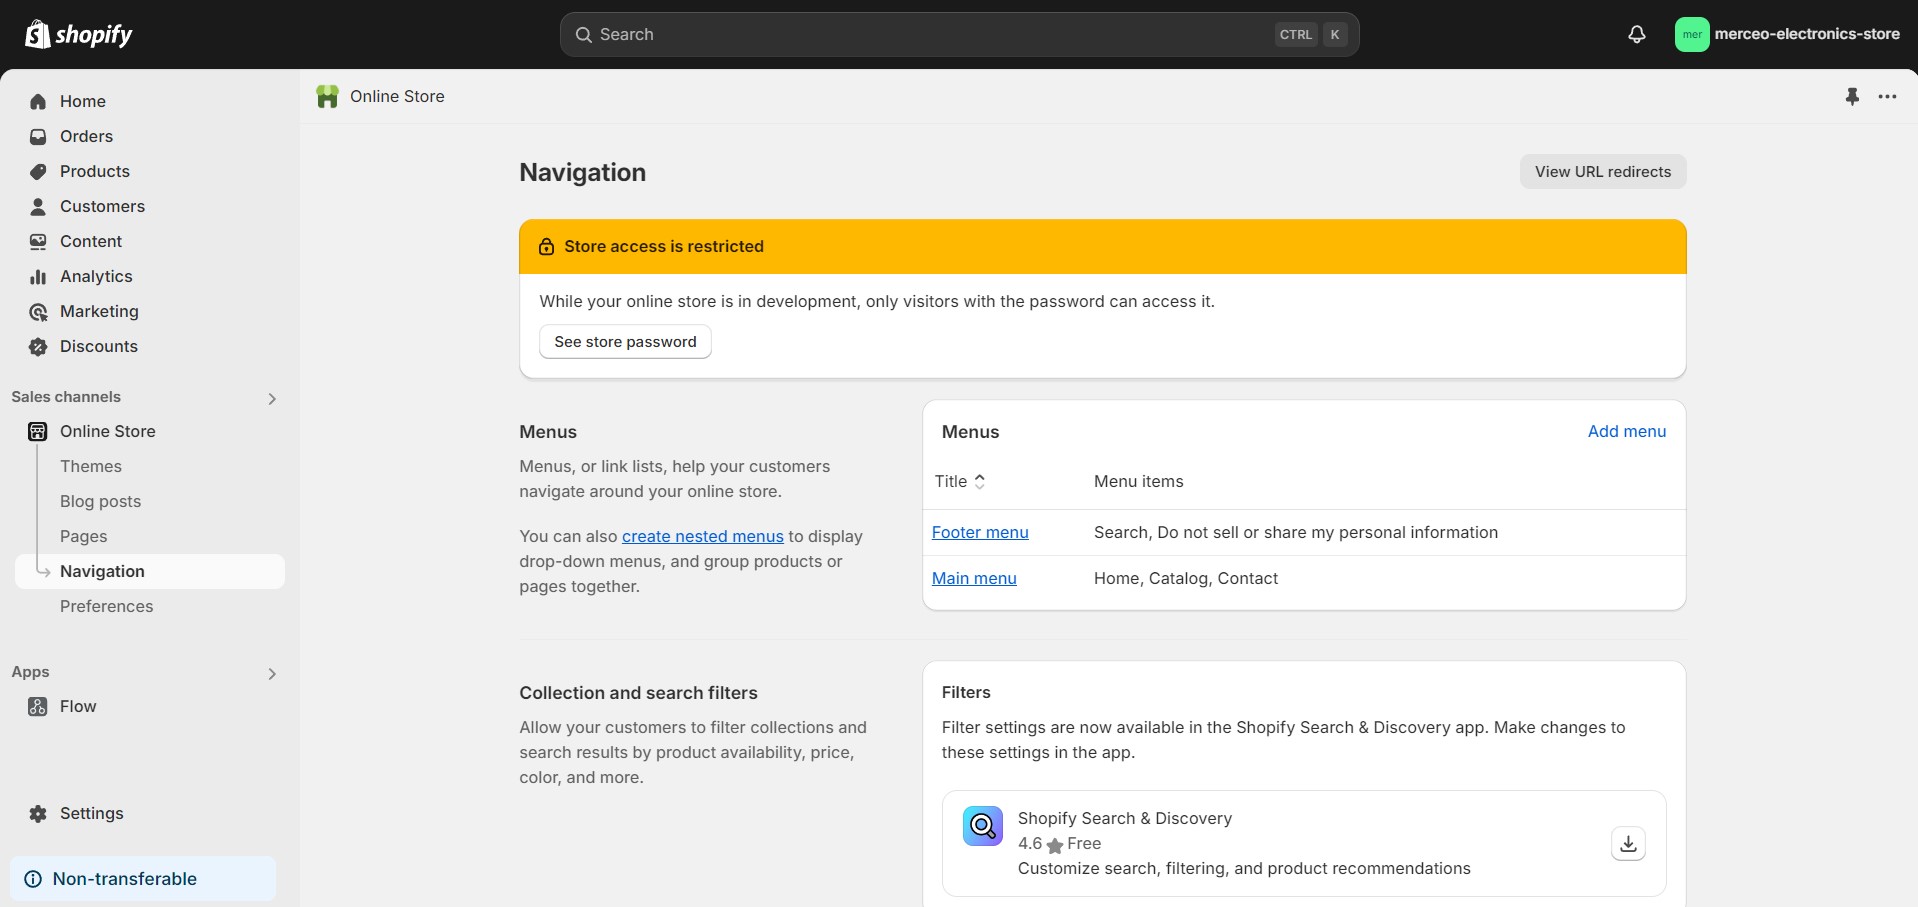
After the page is created, go to ‘Online Store‘ -> ‘Navigation‘, from there, in the ‘Navigation‘ section click on the ‘Main Menu‘.
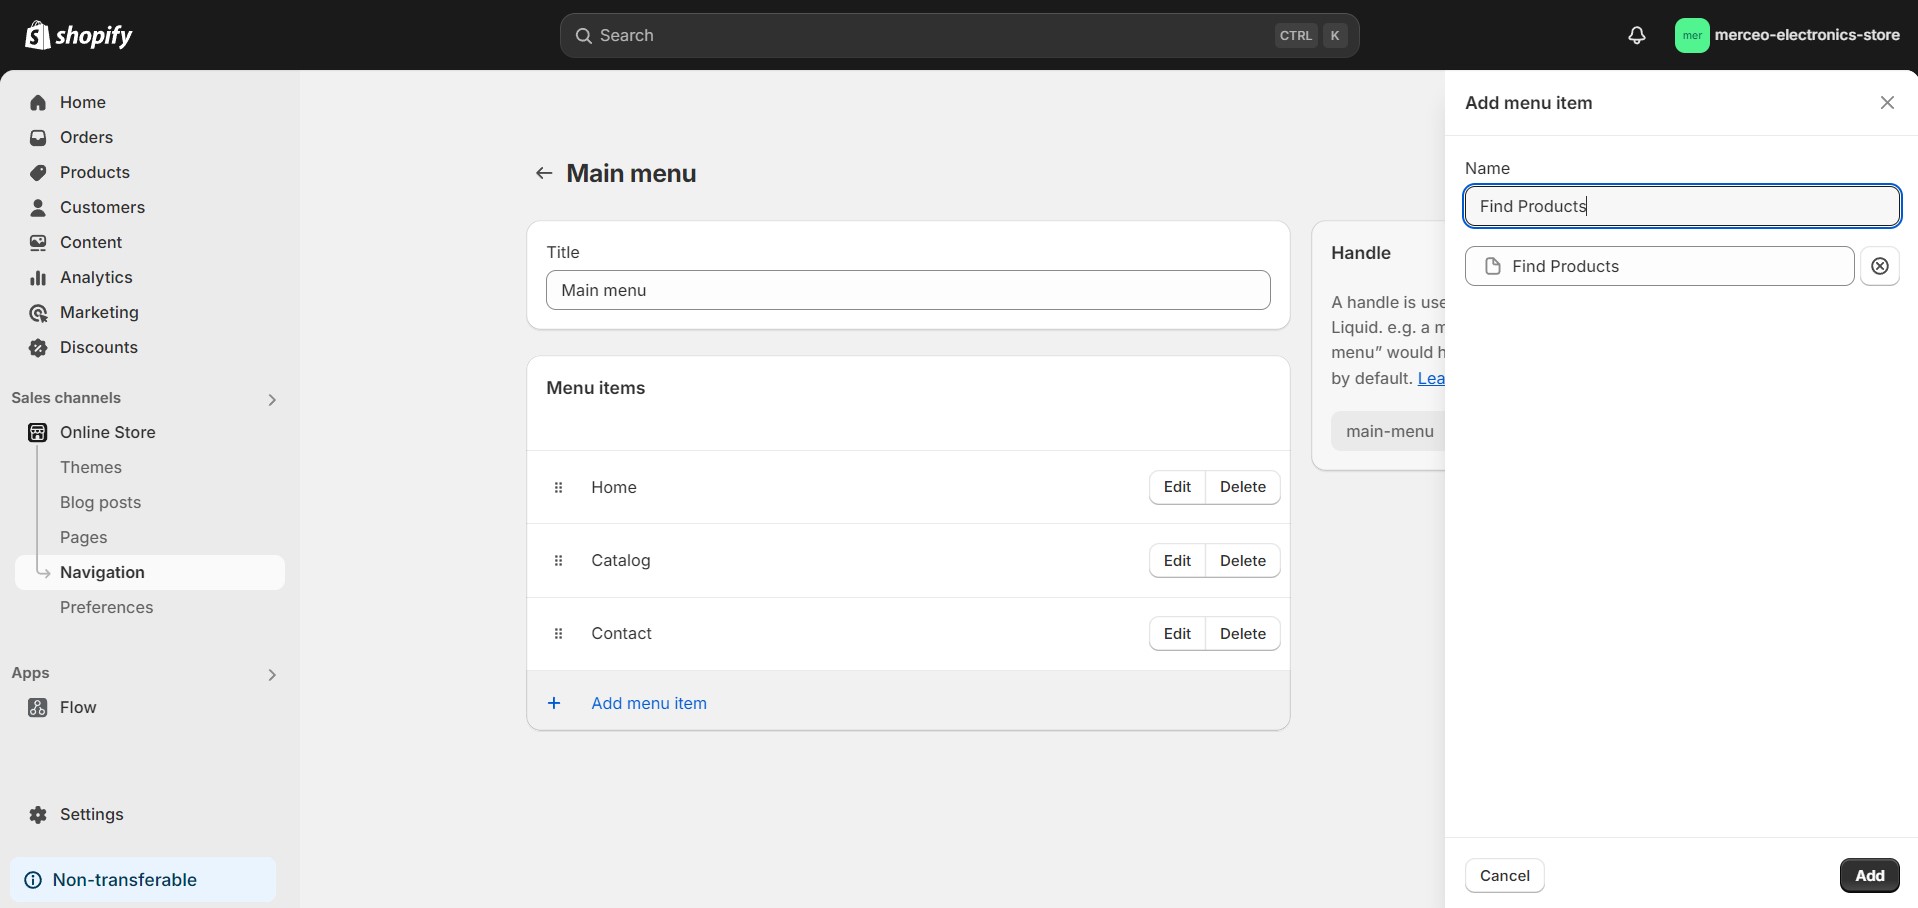
Here click ‘Add menu item‘, and on the ‘search or paste link’ fields, chose the ‘Pages‘ and the page you created (e.g. ‘Find Products’) and click save. After that’s done, the menu item is now added to your page.
Step 2: Add the chatbot assistant in your shop theme
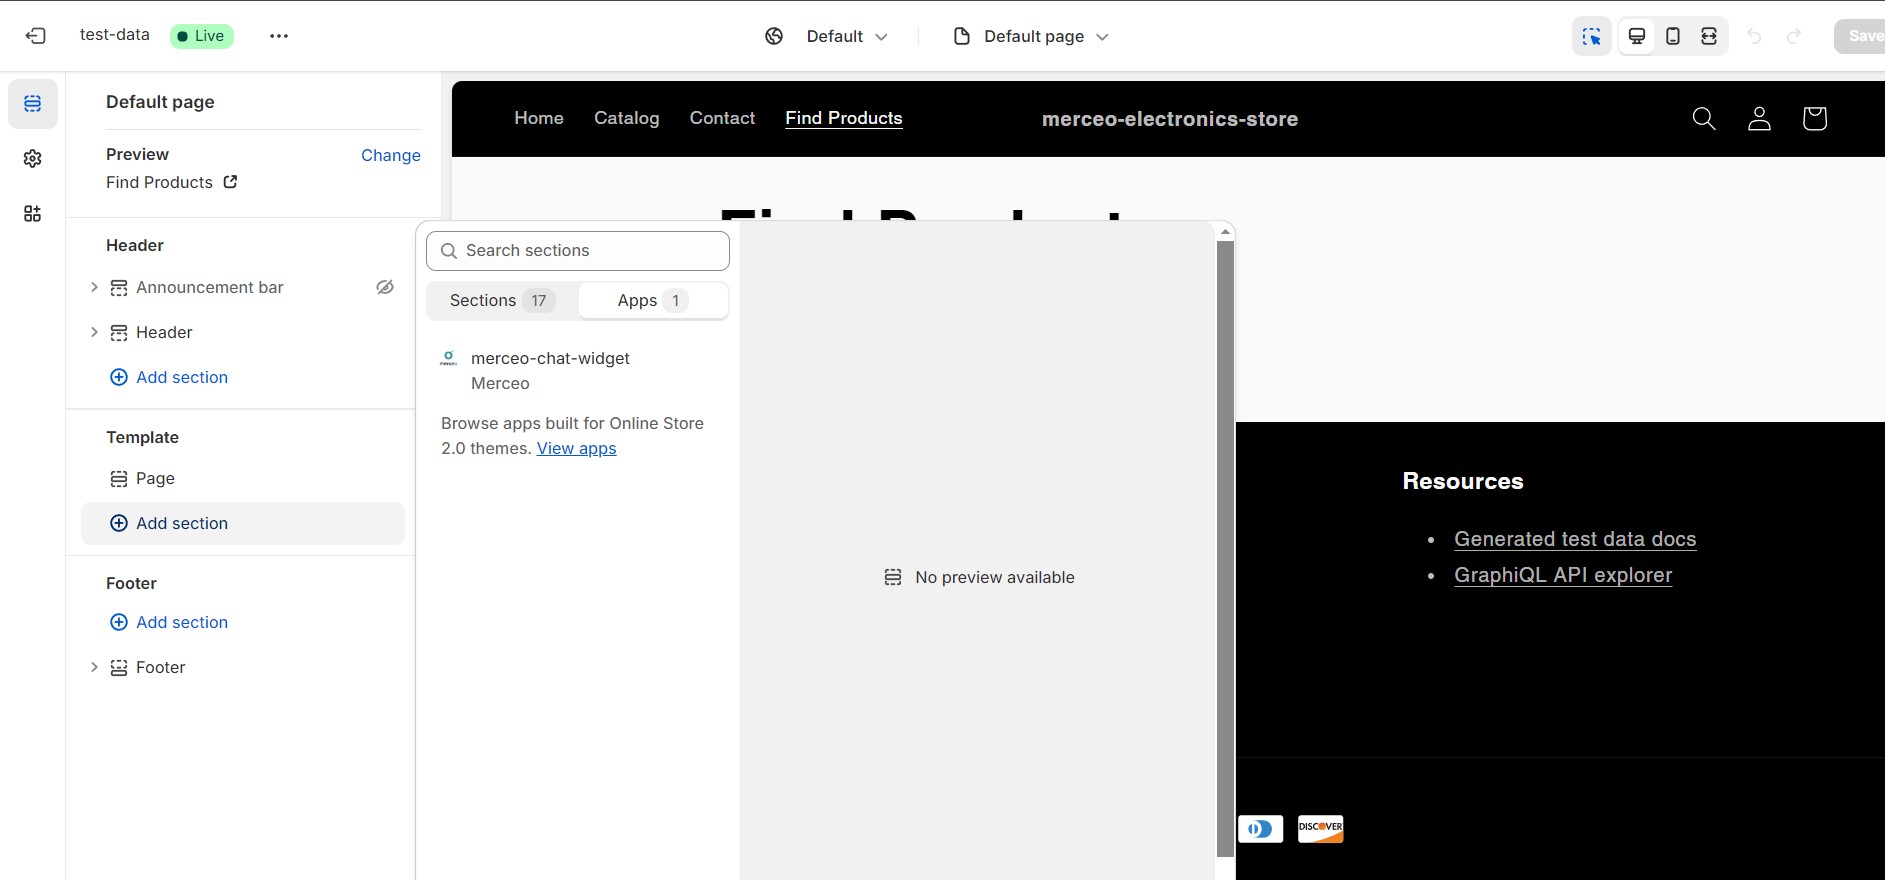
Following up, go to ‘Online Store‘ -> ‘Theme‘ and click ‘Customize‘. From the store theme customizer, click on your newly create menu link (e.g. Find Products). There, from the sidebar, click ‘Add Section‘ -> ‘Apps‘ under the section search.
Merceo chatbot assistant widget should be visible from the dropdown list, click on it to add the widget to the section.
At this point the chatbot assistant widget should be added into the section. Now, click the ‘merceo-chat-widget‘ menu item in your section and enter your merceo store id in the ‘Store ID‘ field. You can find your merceo store id by checking the shopify data source page from which you installed the app or looking at your browser URL bar from the store dashboard (e.g. ‘https://app.merceo.ai/stores/[store-id]/’)
